
More than 75% of hiring managers and recruiters use LinkedIn to find and vet applicants. This means that having a strong online presence is not just a good idea, but a must. And it all begins with your headshot. A striking digital headshot can help you stand out, make a good first impression, and show professionalism. But how do you make your digital headshot stand out? Today, we will give you professional tips on how to take headshots that can help you land your dream job or client.
How Do You Take a Digital Headshot?
You can take a great headshot yourself with just a digital camera, some good lighting, and a little patience. Let’s go step by step and get you that perfect shot:
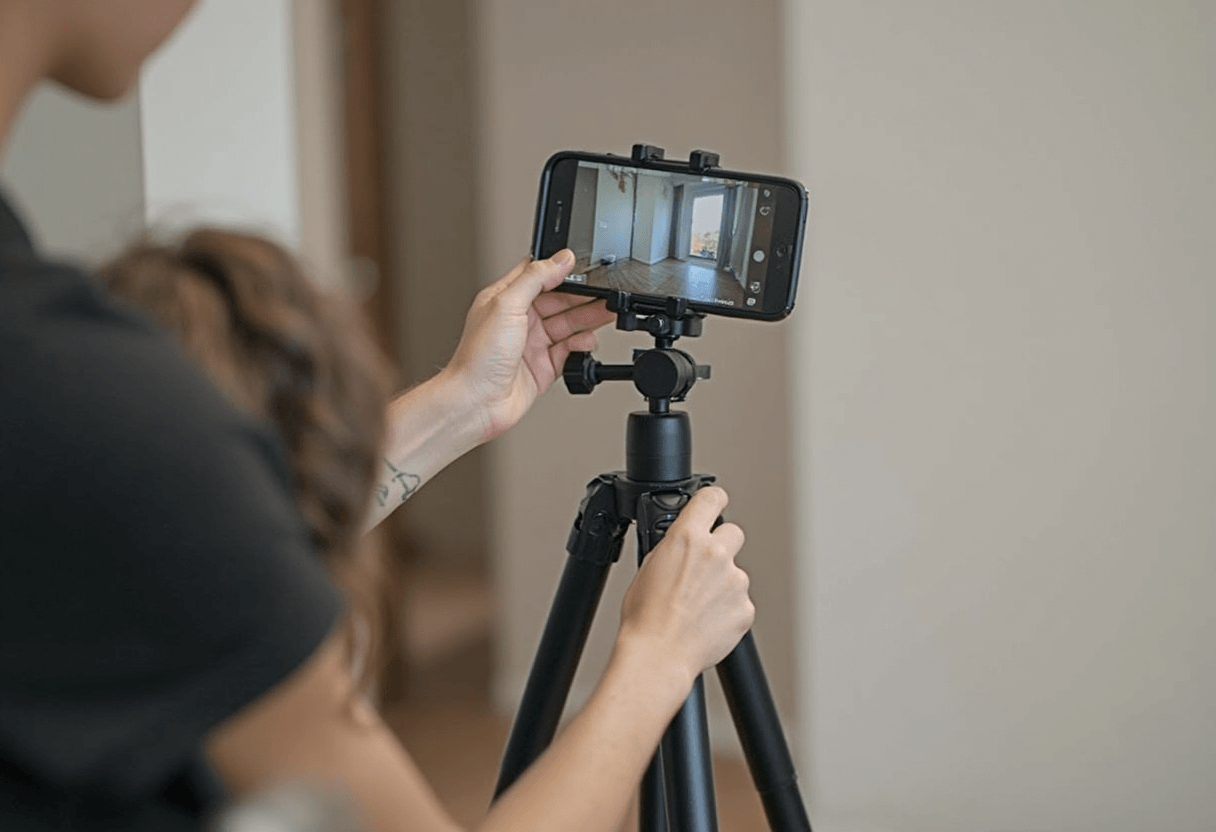
1. Ask a Friend or Use a Tripod
If you have a digital camera, it is best to have someone else take the shot for you. A friend or family member may hold the camera, tweak the settings, and ensure you look your best. However, if no one is there, you can still do it alone. If you're taking a photo on your own, you will need a tripod. The tripod keeps the camera steady and allows you to place it exactly how you want. If you don't have a tripod, you can set the camera on a strong smooth surface such as a table or shelf. Just make sure it's at the proper height. We recommend placing it at eye level.
The good thing about most digital cameras is that they have a self-timer option that gives you a few seconds to get into position before the photo is shot. Some cameras also have a remote control or an app that allows you to take pictures with your phone. This makes it even easier to capture a hands-free headshot.
2. Find Your Location and Lighting
Lighting is one of the most essential elements of a beautiful headshot. If the lighting is bad, your photo may appear too black, bright, or even blurry. The best type of light to use is natural light. To get the best light flow, find a large window and stand facing it. We recommend taking the photo in the late hours of the afternoon. This is because if you snap your shot in the middle of the day, the sun may be too harsh, and this will cast too much shadows on your face.
If you're taking your headshot outside, go for a shady place with soft lighting. Avoid standing directly under the sun since it might make your face appear overly sharp and cast dark shadows beneath your eyes. Also, ensure that the primary source of light is in front of you, not behind you. If the light is behind you, your face will appear overly dark, which you don't want.
3. Prepare for Your Headshot
Now that you have the right lighting, it’s time to get yourself ready. First thing you need to do is choose what you’re going to wear. You can rock simple, solid colors. These colors work best because they keep the focus on your face. Try to avoid busy patterns, bright neon colors, or clothes with big logos because they can be distracting. Neutral colors like white, black, gray, or navy blue usually look the best in headshots.
Also, make sure your hair looks neat. Comb it, style it, and if you have facial hair, trim it so that it looks clean. If you wear makeup, keep it natural and avoid anything too shiny. A little powder can help reduce shine if your skin looks oily. One more thing, before taking your photo, relax your shoulders and take a deep breath. You don’t want to look stiff or uncomfortable. Try to smile naturally. You don’t have to show your teeth if you don’t want to, but make sure your expression looks warm and friendly.

4. Check the Angle of the Camera
The angle of your camera can make a significant difference in how your headshot appears. If the camera is too low, your face may appear bigger, and if it is too high, you may look smaller or odd. The best position is to maintain the camera at eye level.
When you're ready to shoot the photo, look straight into the camera lens. This simulates eye contact, which makes you appear more confident and friendly. If you look at the camera screen instead of the lens, your eyes might appear weird.
5. Set the Camera in Different Modes
Most digital cameras have several features that can help your headshot look better. If you have a camera with a portrait mode, you can go ahead and use it. This mode blurs the background slightly, keeping the focus on your face. If your camera has manual settings, you can optimize brightness, sharpness, and color balance to achieve the best results. Another important feature is the timer function. This allows you to capture a photo without hitting the shoot button yourself.

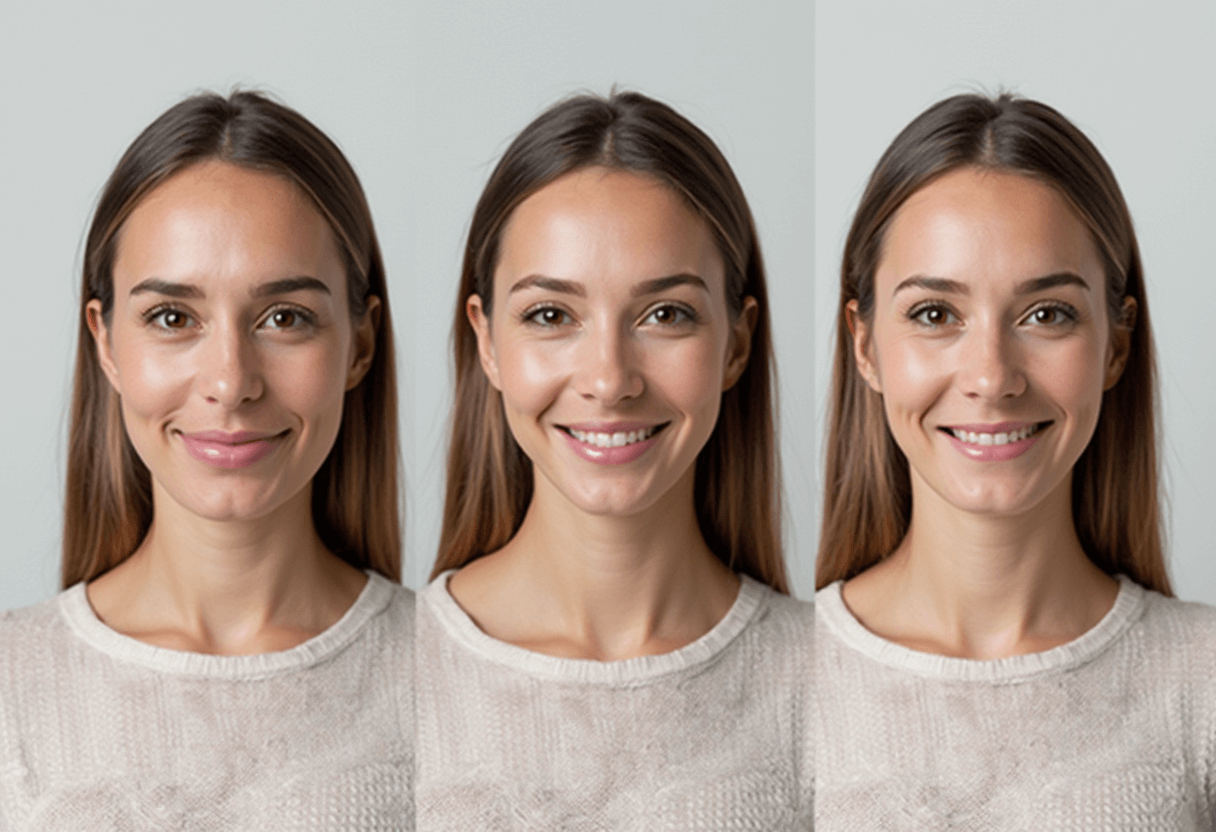
6. Choose a Plain Background
The background of your headshot should be minimal so that nothing distracts attention from you. A plain wall works well, especially if it's white, gray, or another soft color. If you want an outdoor effect, snap your headshot in front of trees or against a blurred background, but make sure it is not too cluttered.
Furthermore, you need to avoid backdrops with excessive detail, like posters, bookcases, or disorganized rooms. These things can make your headshot appear less professional. If you can't find a suitable background, don't worry. You can use apps and editing tools to remove or blur the backdrop later.

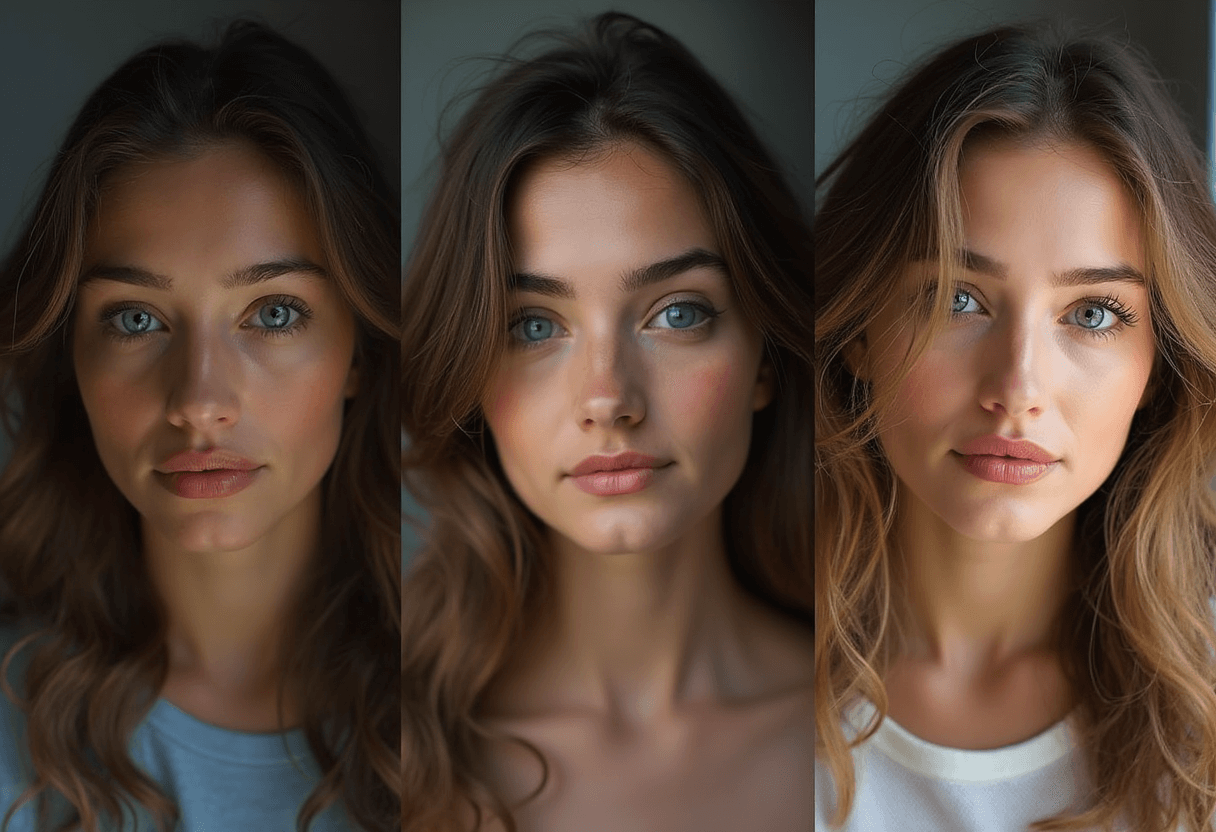
7. Try Different Poses
Headshots don’t have to be boring. You can try different poses to see what looks best. There's an option of facing the camera directly or turning slightly to the side for a more natural look. Some people look better with a soft smile, while others prefer a more serious expression. You can try both and see what feels right for you. One trick is to take multiple photos and change small things in each one, like tilting your head slightly or adjusting your shoulders. Most times, the best photo is one you didn’t expect.

8. Use Photo Editing Apps to Fix Issues
Even if your photo looks great, a little editing can make it even better. But don’t go overboard. You want to look like yourself, not like a completely different person. There are many free tools you can use to edit your photo. The most important things to adjust are brightness, contrast, and sharpness. Make sure your photo looks clear, bright, and natural. If your background is distracting, you can blur it slightly or remove it using an app.

What is the Size of a Digital Headshot?
The intended purpose of a digital headshot is what determines its size. 400 x 400 pixels is a nice size for online profiles like LinkedIn because it isn't too large and appears clear. However, you will need 1000 x 1000 pixels or more if you are looking for a high-quality version for printing or a business website so the photo maintains its sharpness. It's advisable to keep the file size of your headshot between 1MB and 5MB if you are sending it to someone. Additionally, save it as a PNG or JPEG to ensure universal compatibility. Your photo may be too small if it appears stretched or blurry.
How Much Do Digital Headshots Cost?
The cost of digital headshots can vary a lot depending on how you get them. If you take your own headshot with a digital camera, it’s free. You just need good lighting and a little effort. You can also ask a friend to help or use a tripod to get the best shot. If you want a professional photographer, prices usually range from $100 to $500 or more. A budget-friendly photographer might charge $100 to $250, while an experienced, high-end photographer could charge $500 or more. The more you pay, the better the quality, editing, and background options you get. Some packages even include hair and makeup. Meanwhile, if you're looking for something quite affordable as a newbie you can check out Headshot Photo. It is really affordable with a beginner's package of $29.
Are AI-Generated Digital Headshots Worth It?
Yes, AI-generated headshots are definitely worth it. With just a few uploaded selfies, AI can create polished, high-quality headshots without the need for a photo shoot. It’s convenient, especially for those with busy schedules or limited budgets. In fact, you can easily change backgrounds, adjust colors, and refine details to match your personal or professional branding. So, if you need a professional headshot for your LinkedIn profile or company’s website, then Headshot Photo offers a fast and budget-friendly solution like we earlier stated. It makes the entire process cheaper than hiring a photographer, and the results will definitely look clean and polished.
Conclusion
Having a great digital headshot is super important if you want to stand out professionally. It all comes down to good lighting, a simple background, and a relaxed, confident look. So have fun with it, experiment a little, and give your recruiters an amazing first impression. You can either snap one yourself, get a pro to take it, or try out Headshot Photo. Sign up today and give your headshots that makeover it truly deserves.

FAQs
1. Can I take a headshot with my phone?
Yes, you can. Modern smartphones have great cameras. Use good lighting, a clean background, and a tripod or steady surface. Portrait mode helps create a professional look.
2. How do you take a headshot picture of yourself?
You can keep your phone on a tripod or a good surface. Use the timer or a remote shutter. Stand facing natural light, keep your shoulders relaxed, and maintain a confident but natural expression.
3. Where do you aim for a headshot?
Position the camera at eye level for a natural and flattering angle. Frame the shot so your face is centered, leaving a little space above your head and showing part of your shoulders.
4. Which lens is best for headshots?
A 50mm or 85mm lens is ideal because it avoids distortion and creates a natural look. On a phone, portrait mode helps blur the background for a more professional feel.
