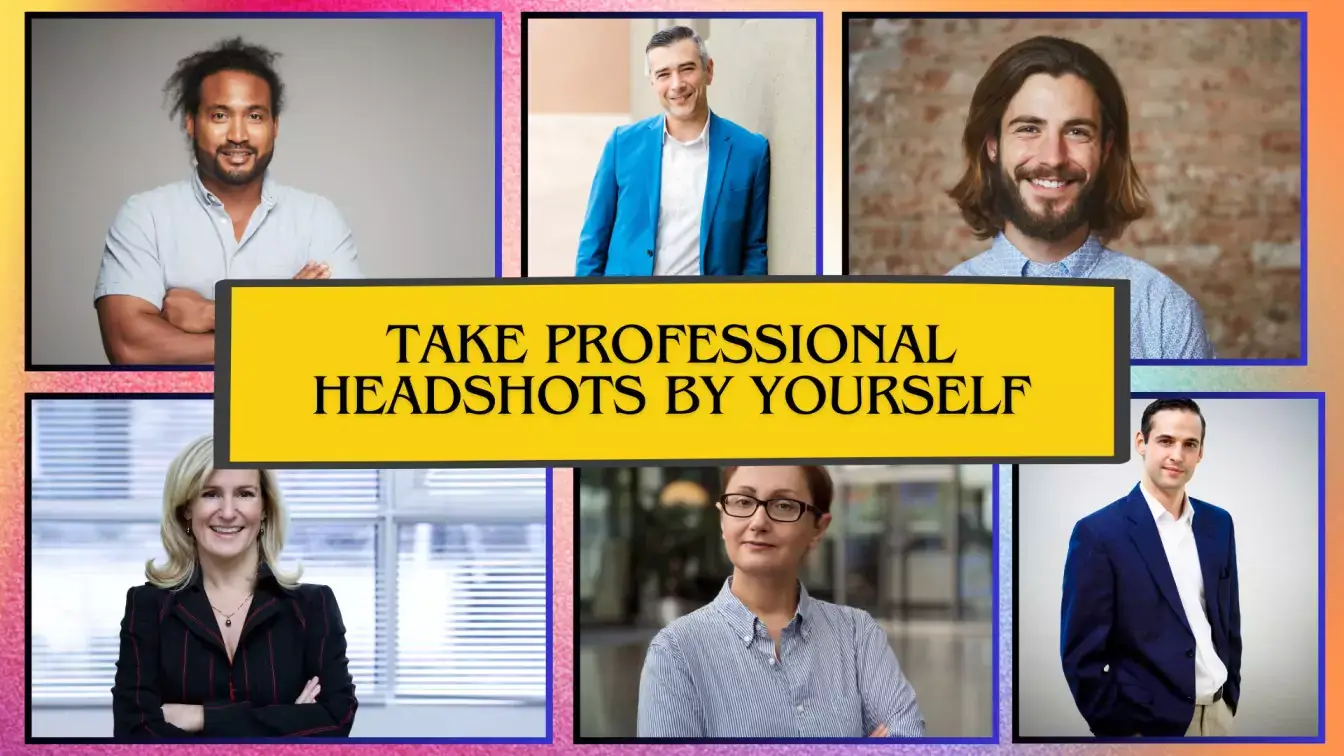
Working from home can be exciting. No morning traffic, you’re in comfy pajamas, and you can easily make your coffee. But what about when your boss or a new job applicant asks for a professional headshot? You panic, looking around your living room and thinking, “How do I do that by myself?” Don’t worry, you don’t need a fancy studio, an expensive camera, or a photographer. You can take a professional headshot with your phone, use some creativity, and put in a little bit of effort. With remote work becoming the norm, having a professional photo is really important. The best part? You don’t even need a fancy background; just a clean wall or natural light will do the trick. It’s super easy, and we’ll show you step-by-step how to get that perfect shot right at home. Ready to look amazing on camera? Let’s get started
How to Take a Professional Headshot by Yourself
If you're eager to take a professional headshot yourself because you're on a budget or a studio is far away from where you live, we've got some steps to help you. They include:
Step 1: Find the Perfect Light

Lighting is everything when it comes to photography. The right lighting can make you look amazing, while bad lighting can ruin even the best photo. Actually, the best lighting is natural light. It’s soft and flattering, and it makes your skin look nice. To get this perfect light, find a spot inside your house near a big window. Let the sunlight shine through, but not directly on you.
However, if you’re taking the picture outside, try to find a shaded spot so the light is even, without any harsh shadows from the sun. Also, avoid using overhead lights like ceiling lamps or the flash on your phone. These can make unflattering shadows on your face and make you look weird.
Step 2: Choose a Simple Background
The background is super important because it helps keep the focus on you and not on anything distracting. A busy or messy background can take attention away from your face, and we don’t want that. Go for neutral colors. Look for a plain wall or a simple backdrop with soft colors like white, beige, or light gray.

These colors won’t draw attention away from your face. Avoid places with too much stuff, like cluttered furniture, shelves filled with books, or random decorations.
The goal is to keep things clean and simple. If you're outside, make sure there aren’t any outdoor distractions. Try to avoid backgrounds like busy streets, trees, or people walking by. Instead, find a spot with a simple backdrop like a park bench with no one around.
Step 3: Set Up Your Camera
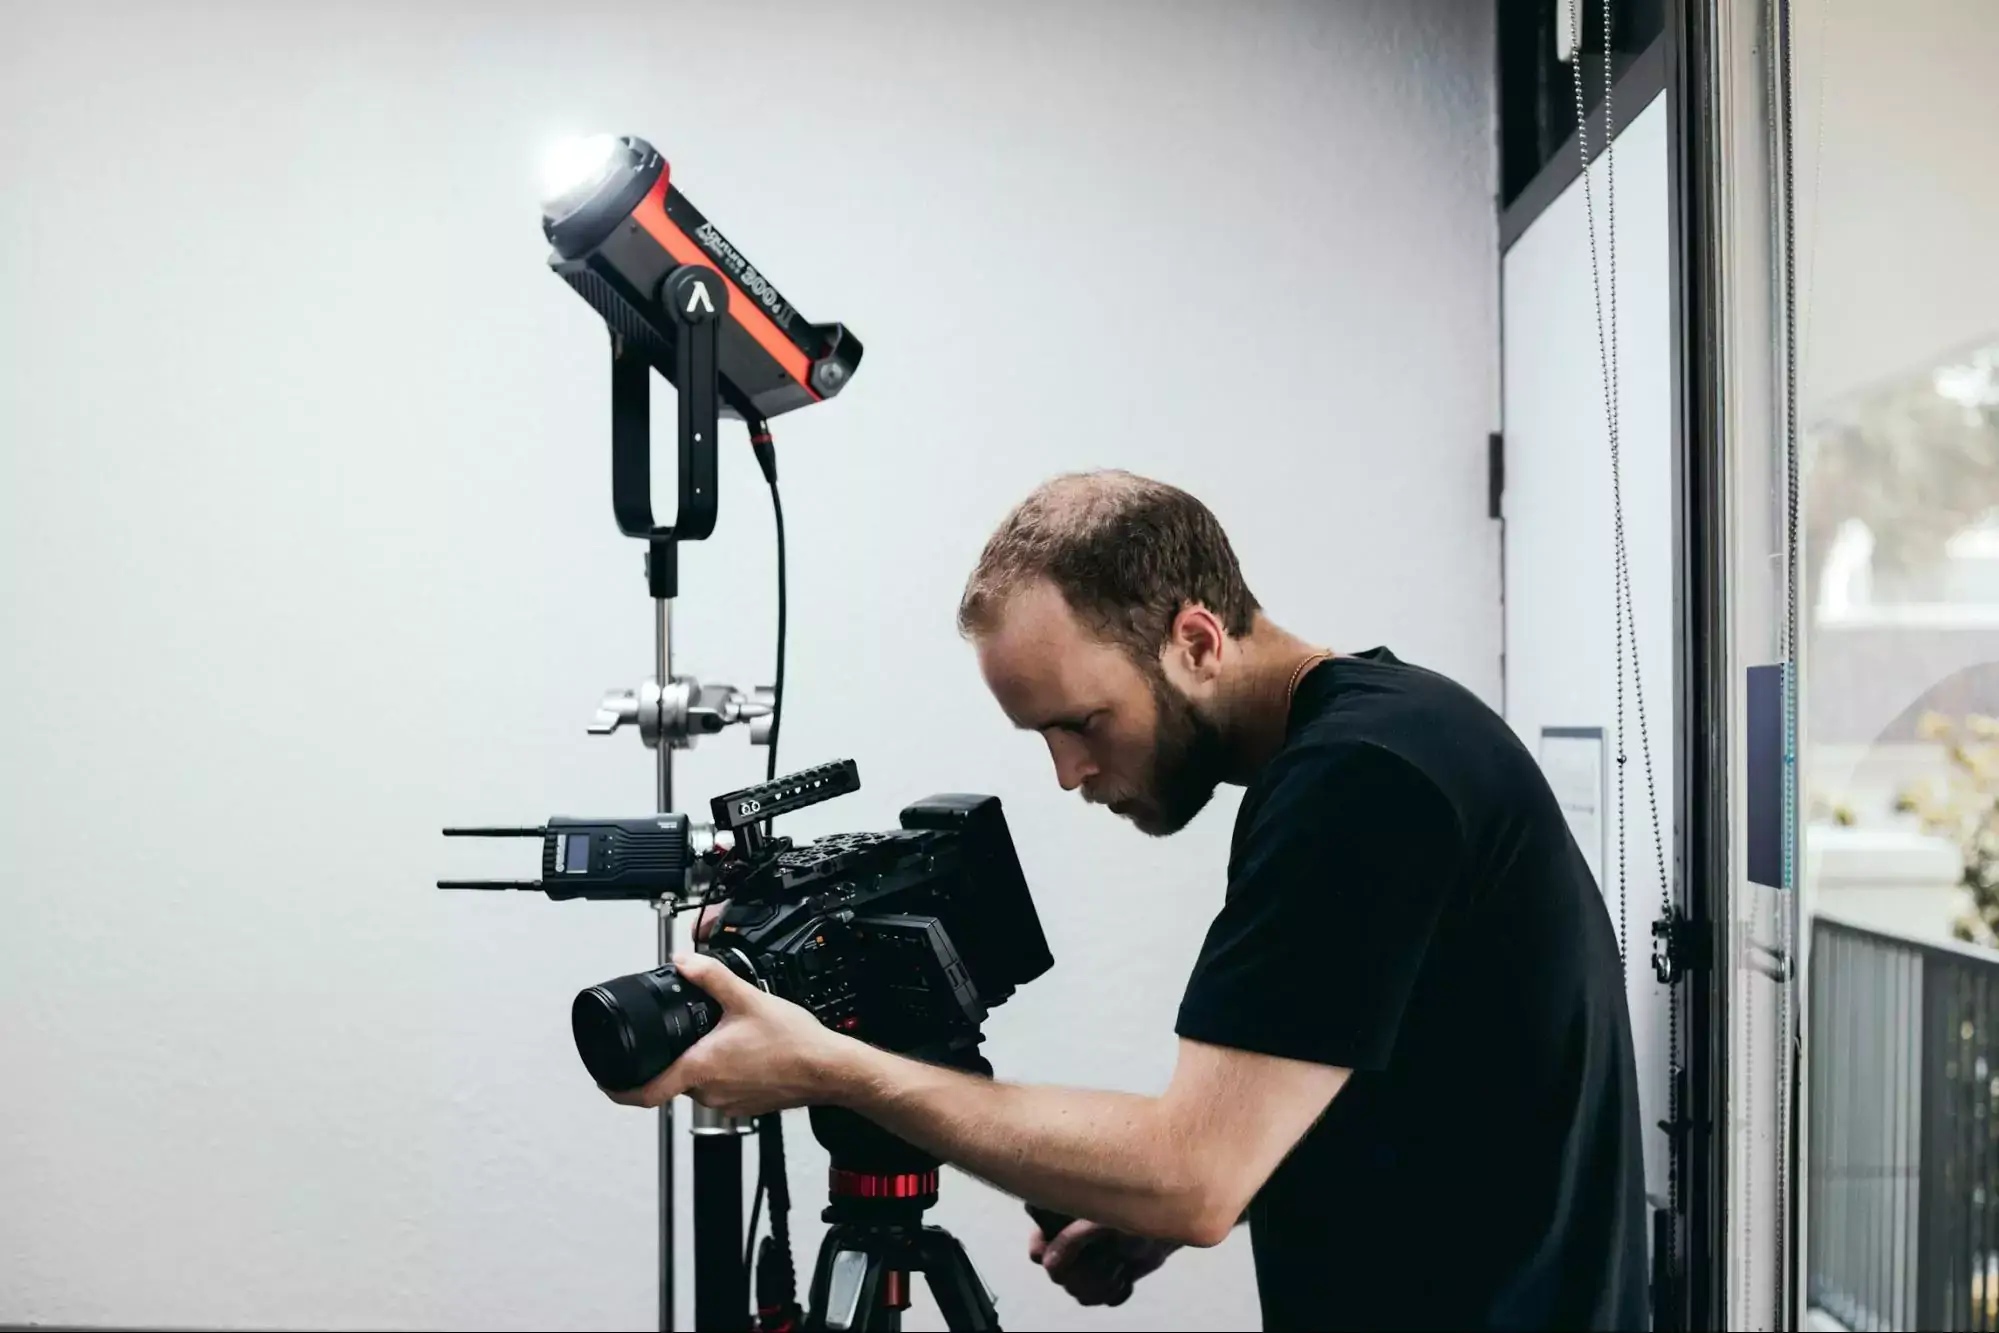
Now that you’ve got the perfect light and a clean background, it’s time to get your camera ready. Here’s how to make sure it’s set up for the best shot.
Use the rear camera
The rear camera on your phone usually takes better photos than the front (selfie) camera. It gives you sharper, clearer images, which is exactly what you want for a professional headshot. So, even if you’re used to taking selfies, try using the back camera instead.
Turn on portrait mode
If your phone has portrait mode, definitely use it. This mode makes the background a little blurry while keeping your face sharp and clear. It gives your headshot a nice, professional look, making you the main focus of the photo.
Stabilize your camera
You don’t want a blurry photo because your camera shakes. If there's no one to help you take some shots, you can use a tripod or even opt for a phone stand. This will keep the camera steady and help you get a clean, sharp shot. You can even set a timer on your phone, so you have time to get into position before the camera clicks.
Step 4: Strike a Confident Pose
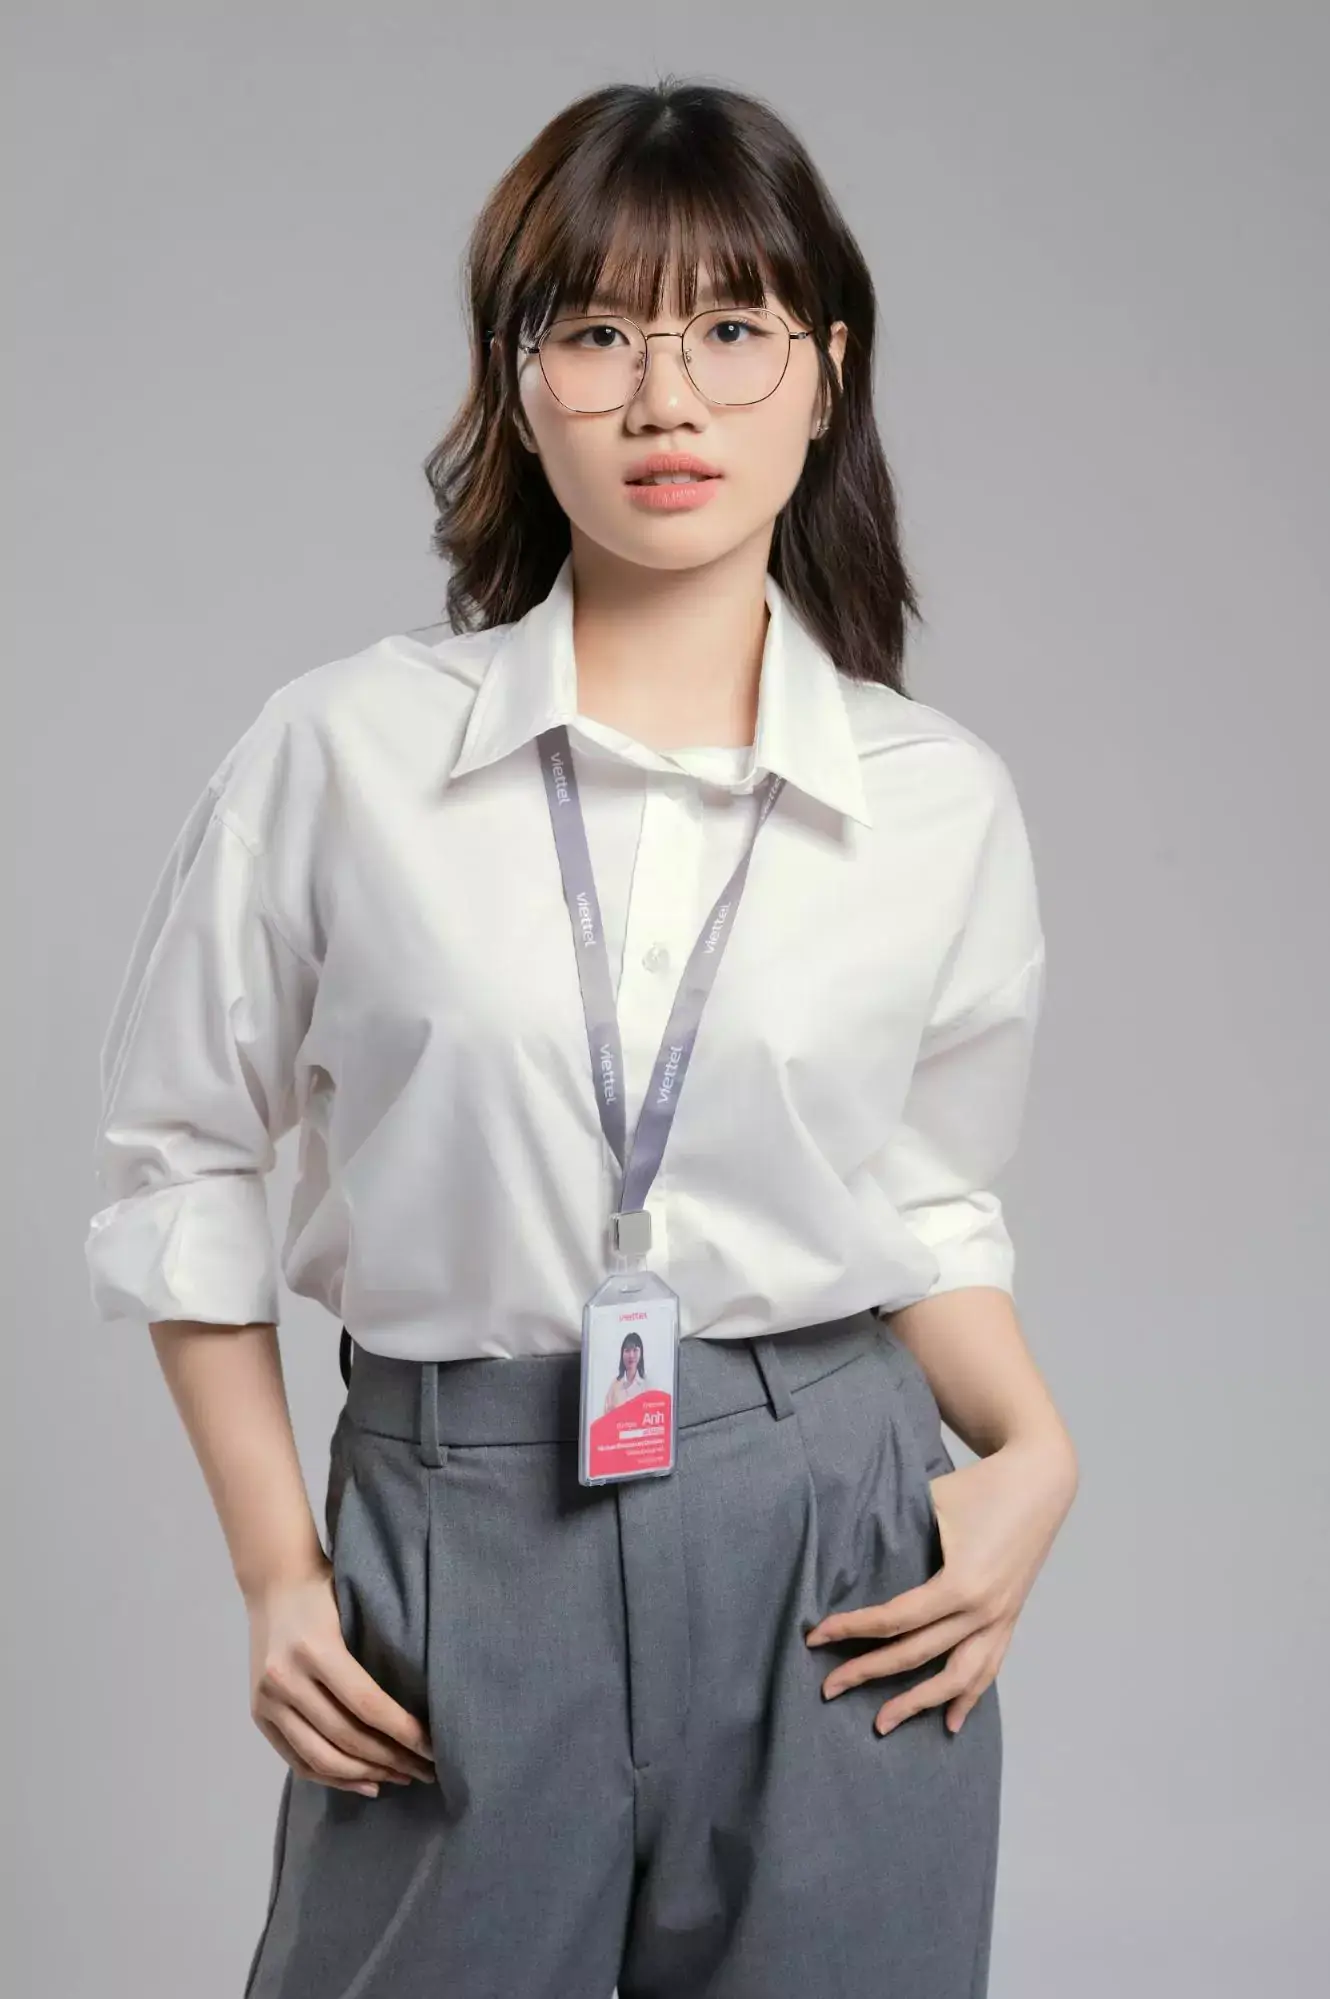
Now that you've got your lighting, background, and camera set up, it's time to focus on your pose. This step is super important because how you stand or sit can make a huge difference in how professional and relaxed you look. So, what's the best way?
Angle your body
Start by turning your body slightly to the side instead of standing directly in front of the camera. Facing the camera straight on can make you look stiff, but turning just a little adds dimension and makes you appear more natural.
Check your posture
Once you have the angle, make sure you’re standing or sitting up straight. Avoid slouching, but don’t overdo it either. You want to look confident, not stiff. Relax your shoulders, and a little lean toward the camera can make you look more engaged and natural.
Practice your smile
A genuine smile will make you look friendly and approachable. If you’re not feeling a big smile, that’s okay. Try a small, relaxed expression that feels more natural to you. The goal is to look confident, but still like yourself.
Step 5: Dress for Success

What you wear in your headshot can really make a big difference. Your clothes say a lot about you, so wearing something that makes you look professional and true to yourself is important. Hence, you'll have to stick to solid colors. Neutral colors like white, gray, black, or navy are always safe and look great in photos. These colors help keep the focus on your face, which is the most important part of the picture. If you want to add a little personality, try a pop of color, but make sure it works well with your background. Bright colors can be fun, but be careful not to wear anything too loud or busy. Avoid patterns or logos, as they can distract from your face and make the photo look cluttered.
Also, think about your industry and what you do. If you work in a corporate job, like an office or business setting, you’ll want to wear something more formal, like a blazer or button-up shirt. But, if you’re in a creative field, like design or arts, you can add a bit more of your style, just keep it looking professional.
Step 6: Keep Practicing
Getting the perfect shot might take a little time, so don’t worry if it doesn’t happen right away. The more you practice, the better your headshot will turn out. However, moving the camera a little higher or lower can change how you look in the photo. You can turn your body a little to the side, tilt your head, or even try out different expressions with your smile. Also, don’t forget to use burst mode on your phone. This setting lets you take a bunch of photos in just a few seconds, giving you lots of options to choose from. You might not get it right on the first try, but with burst mode, you’ll have plenty of pictures to pick from and find the one that looks best.
Step 7: Edit, but Don’t Overdo It
After you’ve taken your photos, it’s time to make them look even better with a little editing. But, remember, less is more when it comes to edits. Here’s how:
Stick to minor adjustments
If your photo looks a bit dark or too bright, tweak it until it looks just right. You can also sharpen the image if it’s a little blurry, but avoid going overboard. It’s tempting to use filters, but don’t overdo it. Heavy filters can make your photo look unnatural, and you want your headshot to feel real and professional, not like something from a cartoon.
Crop it right
Crop it right to make sure your face is the star of the picture. You don’t want too much space around your face, but also leave some room above your head for balance. Try not to cut off your shoulders as this helps the photo look more natural and balanced. The goal is to keep it simple, clean, and professional.
Can you use AI for Taking a Professional Headshot By Yourself?
Yes, you can. AI tools like Headshot Photo.io make it easy to take a professional headshot without needing a photographer. With this tool, you don’t even need a fancy camera. Just upload a clear picture of yourself, and the AI works its magic.
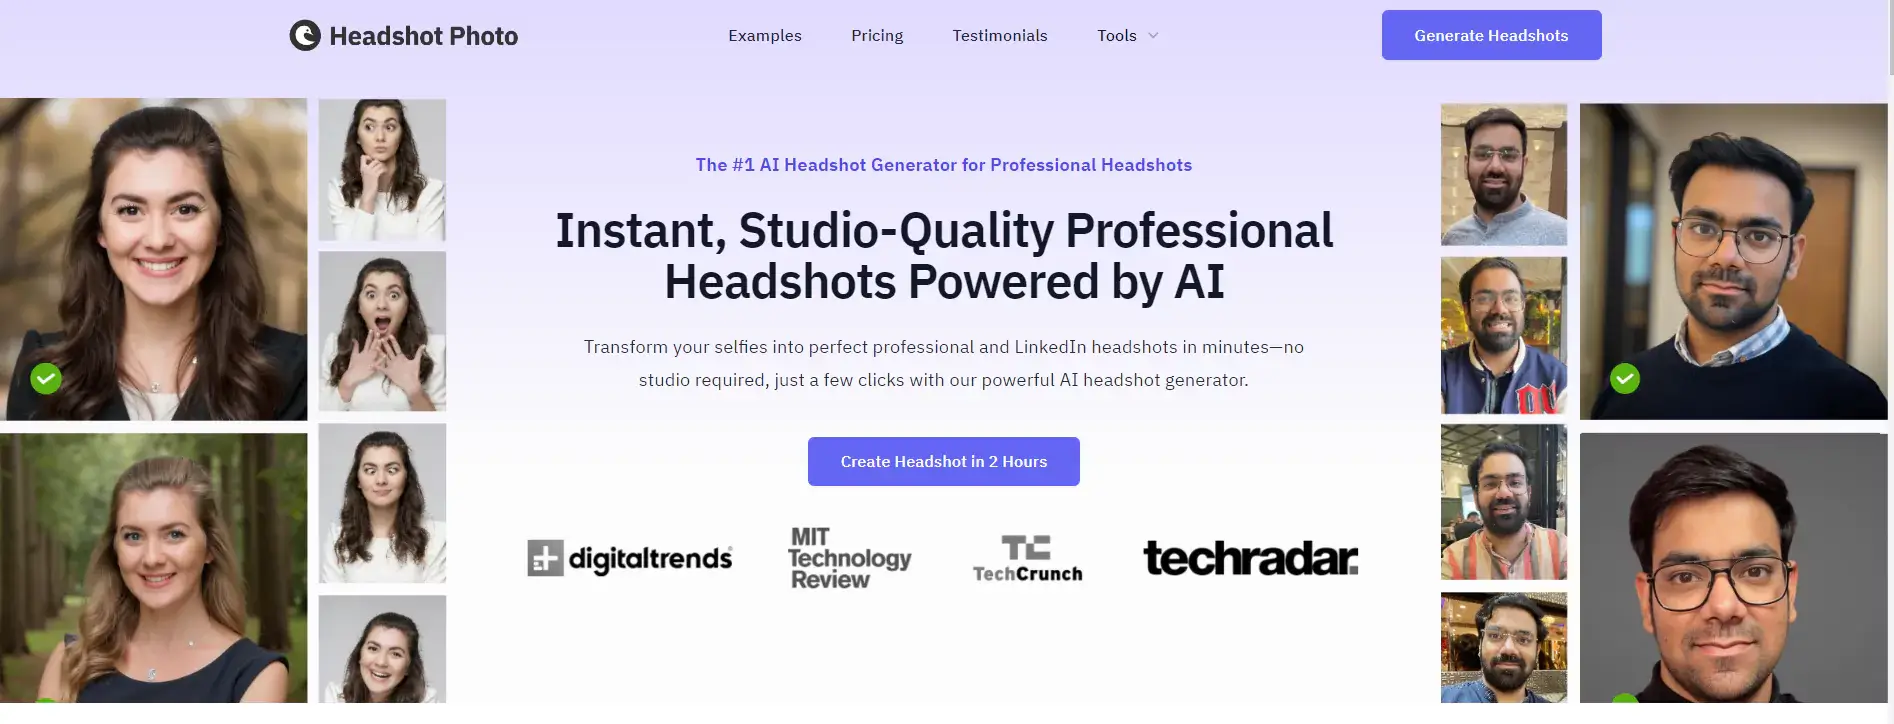
It can fix the background, adjust the lighting, and make sure your headshot looks perfect. This is great if you need a photo for work or school. Instead of paying someone to take your picture, you can do it all by yourself at home. It’s quick, easy, and saves money
What You’ll Need for Your Headshot
Taking a professional headshot at home is easier than you think. You just need a few basic things to get started, and with a little effort, you can create a stunning photo. Here’s everything you’ll need:
1. A Phone or Camera
Your phone’s rear camera works perfectly for this. If possible, use a tripod or phone stand to keep it steady. A shaky camera can ruin even the best shot. If you don’t have a tripod, prop your phone on books or a shelf to get the right height and angle.
2. Natural Light Source
Lighting is the secret to a great photo. Find a big window that lets in soft, indirect sunlight. If you’re outside, stand in a shaded area to avoid harsh shadows. Natural light is flattering and doesn’t require fancy equipment.
3. A Simple Background
A plain wall or uncluttered space works best. You want the focus on your face, not on messy furniture or decorations in the background. Neutral tones like white or gray are ideal, but you can also use a solid backdrop.
4. A Timer or Remote Shutter
A timer gives you time to pose without rushing. It lets you take photos without touching the camera, keeping your setup steady.
5. A Photo Editing App
Once you’ve taken your photos, use a simple editing app to adjust brightness, contrast, or sharpness. With these tools, you’ll be ready to create a headshot that looks professional and polished, all from the comfort of home
Tips for a Great Headshot
Apply these tips to improve your chances of getting the perfect shot.
1. Ask a Friend for Help
Get a trusted friend to help you take the photo. They can focus on the framing and make sure you look great. It’s much easier when someone else handles the camera. Plus, they might notice details you miss. This teamwork can make the whole process smoother and help you get a perfect shot.
2. Keep It Professional
Even if you’re doing it yourself, act like it’s a professional photoshoot. Take your time to set everything up carefully. Don’t rush, adjust your lighting, background, and pose. The more effort you put in, the better the photo will turn out. Treating it seriously makes a big difference in getting that perfect look.
3. Test Your Setup
Before taking the real photo, snap a few test shots. Check if the lighting is good, the background is neat, and the camera angle works. These small checks will save you time later. It’s better to fix things now than to realize later that something’s off. Testing makes everything so much easier
Common Mistakes to Avoid While Taking a Professional Headshot by Yourself
To ensure your headshot looks its best, you should avoid the following:
1. Using Flash
Stay away from using flash for your headshot as much as you can. Flash often creates harsh lighting and weird shadows, which can make your photo look unflattering. Instead, try using natural light. It’s softer and makes your face look more vibrant.
2. Busy Backgrounds
Don’t let your background steal the spotlight. Keep it simple and clean so all the focus stays on your face. A busy or messy background can distract viewers and make your photo look less professional. A plain wall, a neat space, or soft outdoor scenery works perfectly to highlight you, not the surroundings.
3. Over-Editing
Go easy on the edits. Avoid heavy filters or extreme touch-ups as they can make your photo look fake and unnatural. A little tweak is fine, but the goal is to keep it professional and real. Let your true self shine through. Simple and natural edits always create a more genuine headshot
Conclusion
Who needs a studio when you’ve got a smartphone and a little know-how? Taking a professional headshot by yourself is simpler than you think and way more fun. Just find good lighting, and a clean background, and strike your best “I’m ready for success” pose. With a bit of patience, you’ll have a headshot that makes you look confident and professional. So, what are you waiting for? Update your LinkedIn, refresh your resume, or show off your new look on your website. And if you’re stuck, come back for more tips or use Headshot photo.io to generate your headshots easily with AI.
FAQs
Can I take a professional headshot myself?
Yes, you can! With a smartphone, good lighting, a clean background, and proper posing, you can take a professional headshot by yourself without needing expensive equipment or a photographer.
How do you position yourself for a headshot?
Stand tall with relaxed shoulders, slightly angle your body, and face the camera. Make sure your eyes are at camera level for the best result.
How to take a professional headshot on your phone?
Use natural lighting, a clean background, and your phone’s portrait mode. Position the camera at eye level, pose confidently, and take multiple shots. Edit lightly for brightness or contrast if needed.
Do I smile in a professional headshot?
Yes, a natural smile works best. It makes you appear approachable and confident. Avoid forced or overly wide smiles; a subtle, genuine smile creates a professional yet friendly look.
